Real prints
Straight off the printer
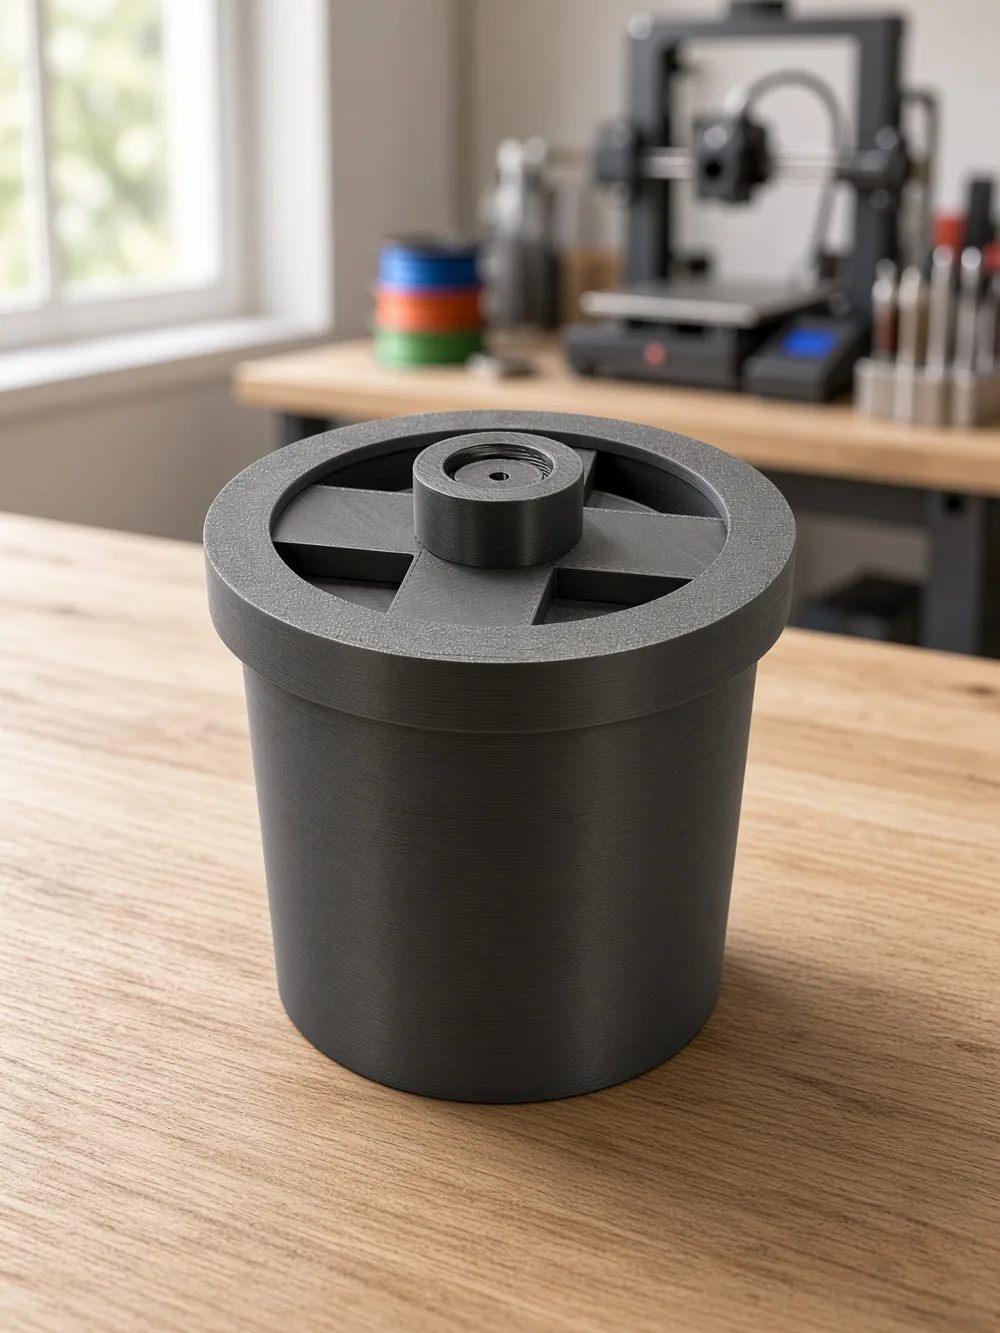
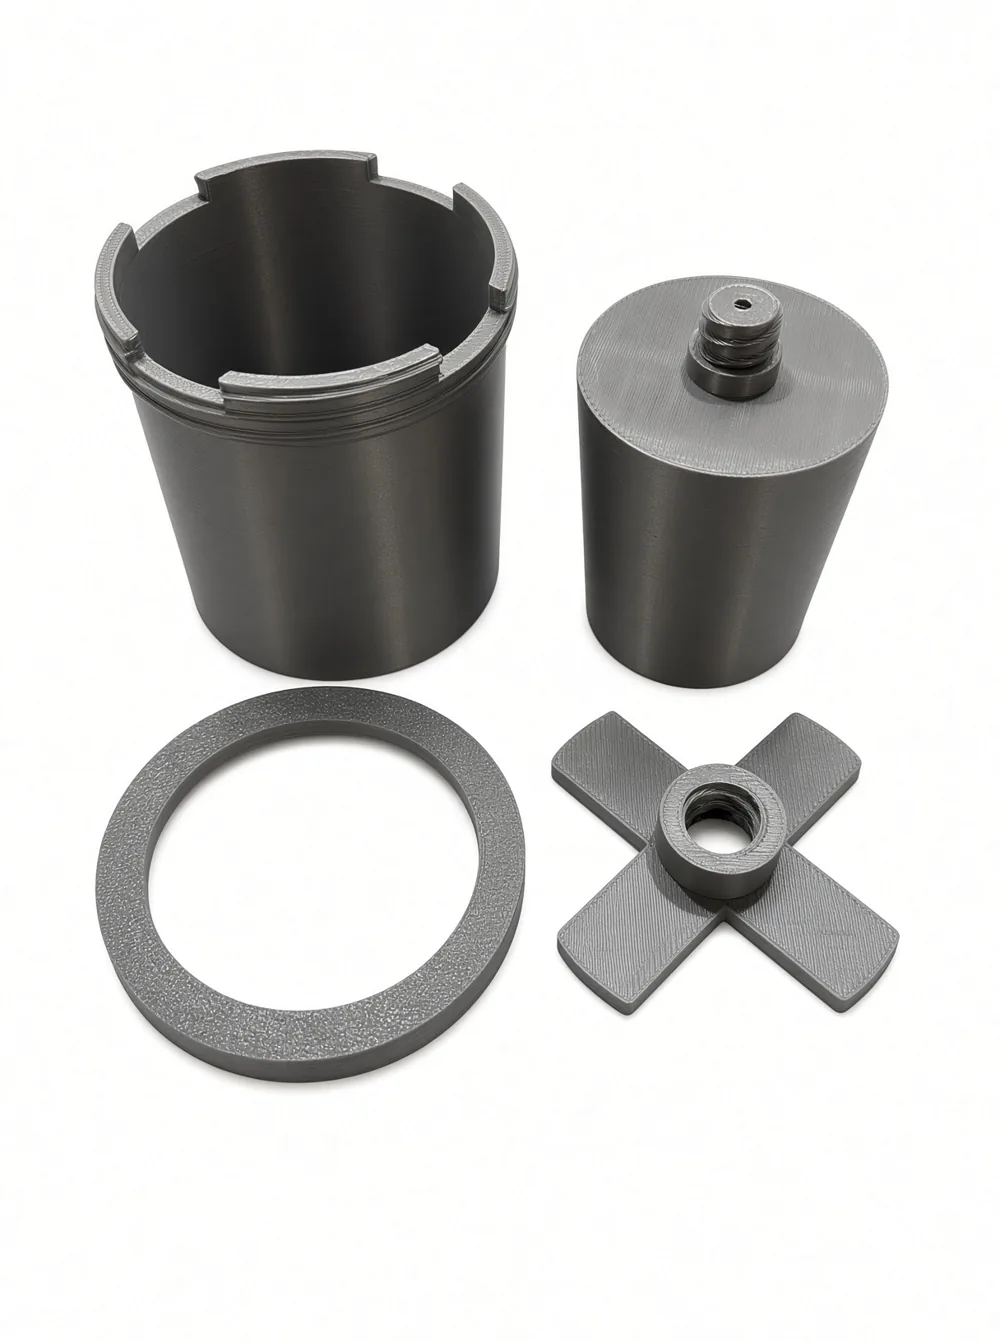
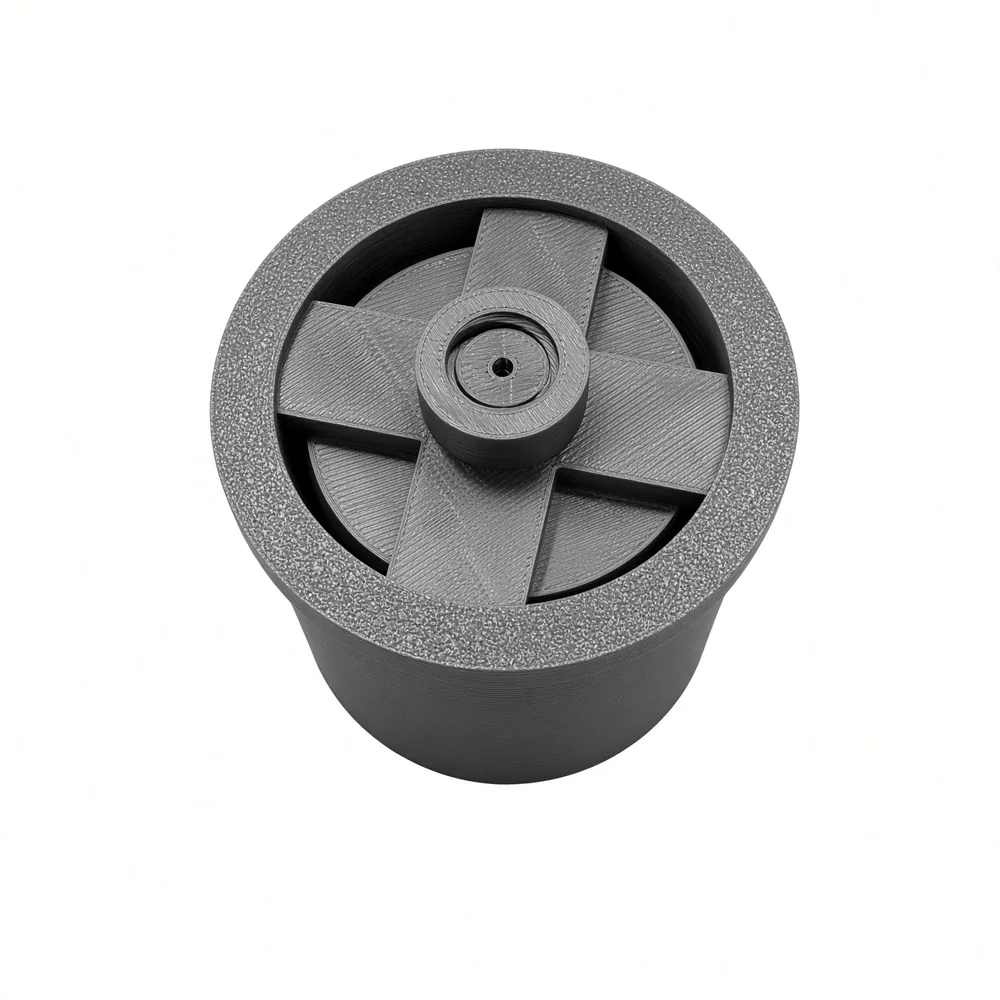
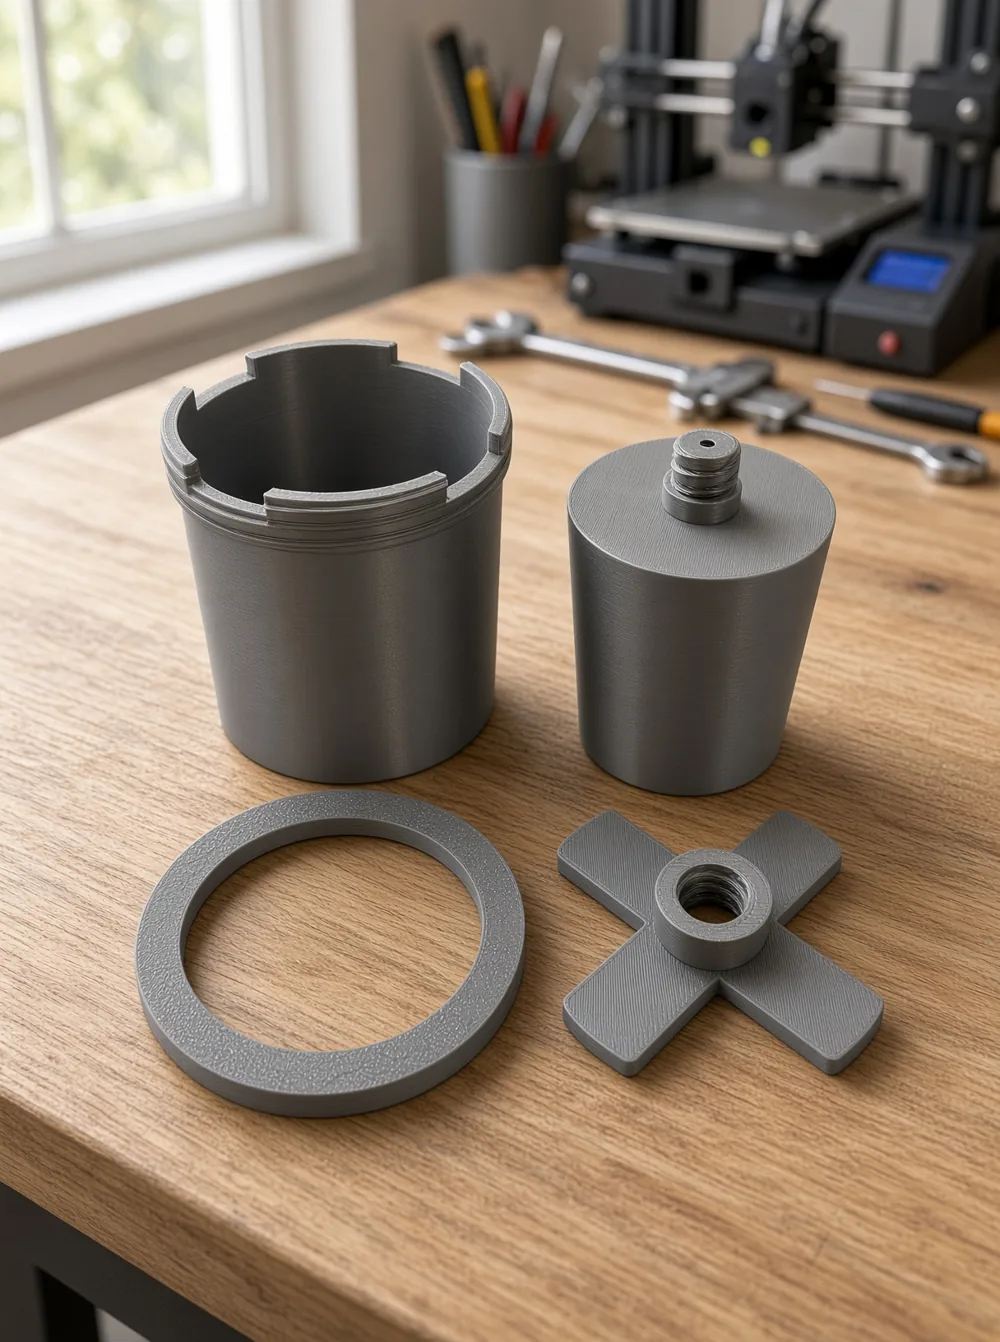
A four-part silicone mould jig made in Mould Maker: cup, master, locking ring and centring cross. Printed in grey PLA on our Bambu H2C, no supports, photographed as printed.
Candles, soap, resin, concrete, plaster and more. Pick a shape, dial in the size, wall and draft angle, preview it in 3D — then download the print-ready STL free, or have us print it for you. Built with proper draft and wall thickness so your castings actually release.
Bambu Lab PLA Basic filament colours — preview colours only, the render shows a matte-PLA finish of your pick.
The most-made moulds, pre-configured. Order one as-is, or hit Customize to make it yours.
Research-backed settings we bake in — and how to print it if you're doing it yourself.
Print at 0.12–0.16mm layer height. Smaller layers = smoother mould interior = a better casting finish with fewer lines to sand.
PLA for cold pours (soap, plaster, concrete, cold resin). PETG for hot candle wax (70–80°C) or warm resin. Food → print a master & cast food-grade silicone.
Walls ≥2mm so heat/exotherm can't warp them, and 3–5° draft on every vertical face so the casting slides out. Both built into this tool.
A light mould-release spray or wax (or a silicone master for detail) means clean pops every time and a longer mould life.
The pro route for fine detail & food-safe casting: print your object as a Positive Master (toggle above), then cast a flexible silicone mould around it. Here's how to do it cleanly — or use the new Silicone Jig mode above, which prints the whole formwork for you (full guide).
Print your shape as a Positive Master, hot-glue it to a base, build a small box around it (LEGO or foam board), then pour silicone over it. Once cured, peel the silicone off — a reusable mould with perfect detail.
Not essential, but for flawless results: a vacuum chamber degasses the liquid silicone before you pour (removes air so the mould surface is perfect). A pressure pot is used after pouring your casting (resin) to crush any bubbles invisibly. The "air pump" is the vacuum pump that feeds the chamber — it's for degassing, not for pulling parts out.
Mix silicone by weight (per its ratio, e.g. 10:1). Pour a thin stream from up high into one corner and let it flood across the master — the stretching stream pops bubbles on the way down. Never dump it in.
Let it fully cure, then flex & peel the silicone back off the casting — that flexibility is why silicone beats rigid moulds for detail & undercuts. For food (chocolate, ice) use platinum food-grade silicone. A light release spray extends mould life.
A four-part silicone mould jig made in Mould Maker: cup, master, locking ring and centring cross. Printed in grey PLA on our Bambu H2C, no supports, photographed as printed.
Made to order in Melbourne — we'll confirm your total and lead time by email, then send a secure payment link.